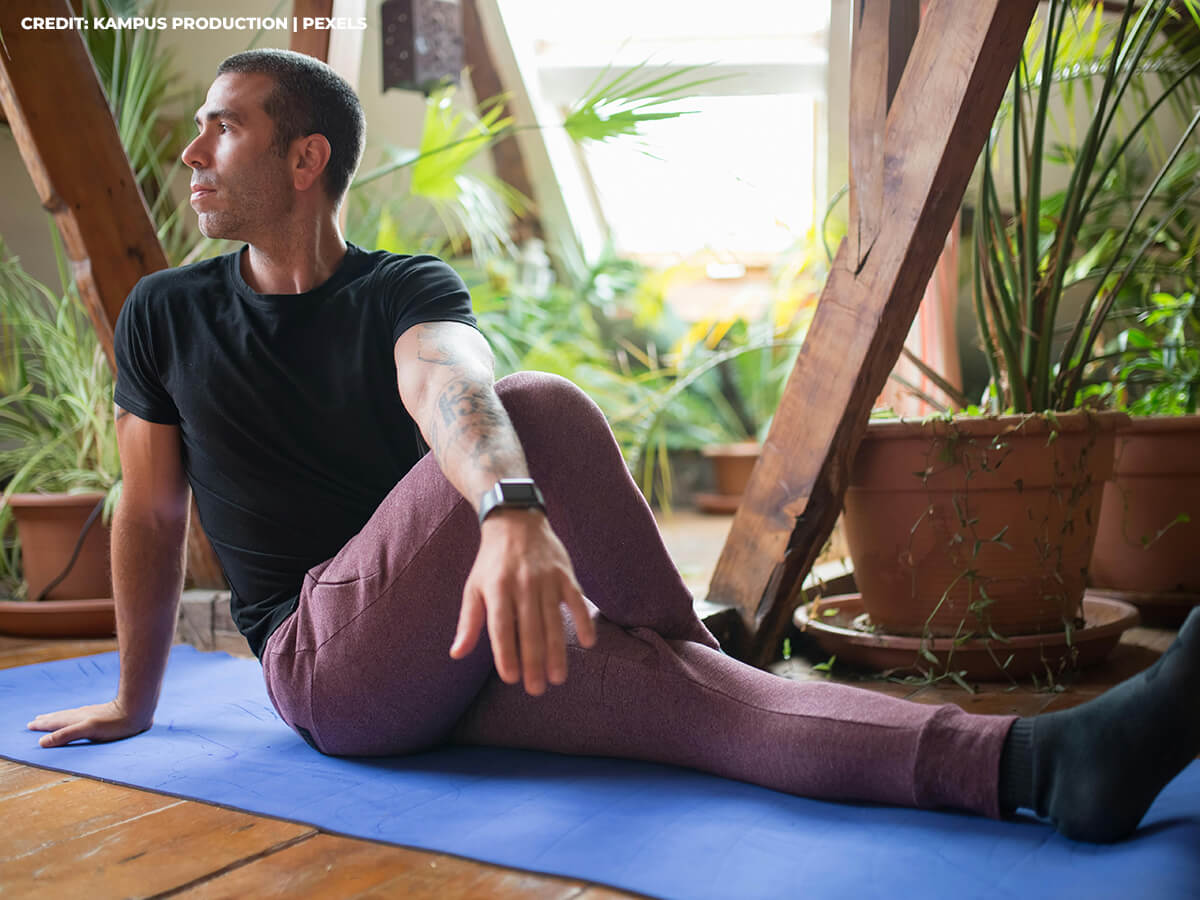
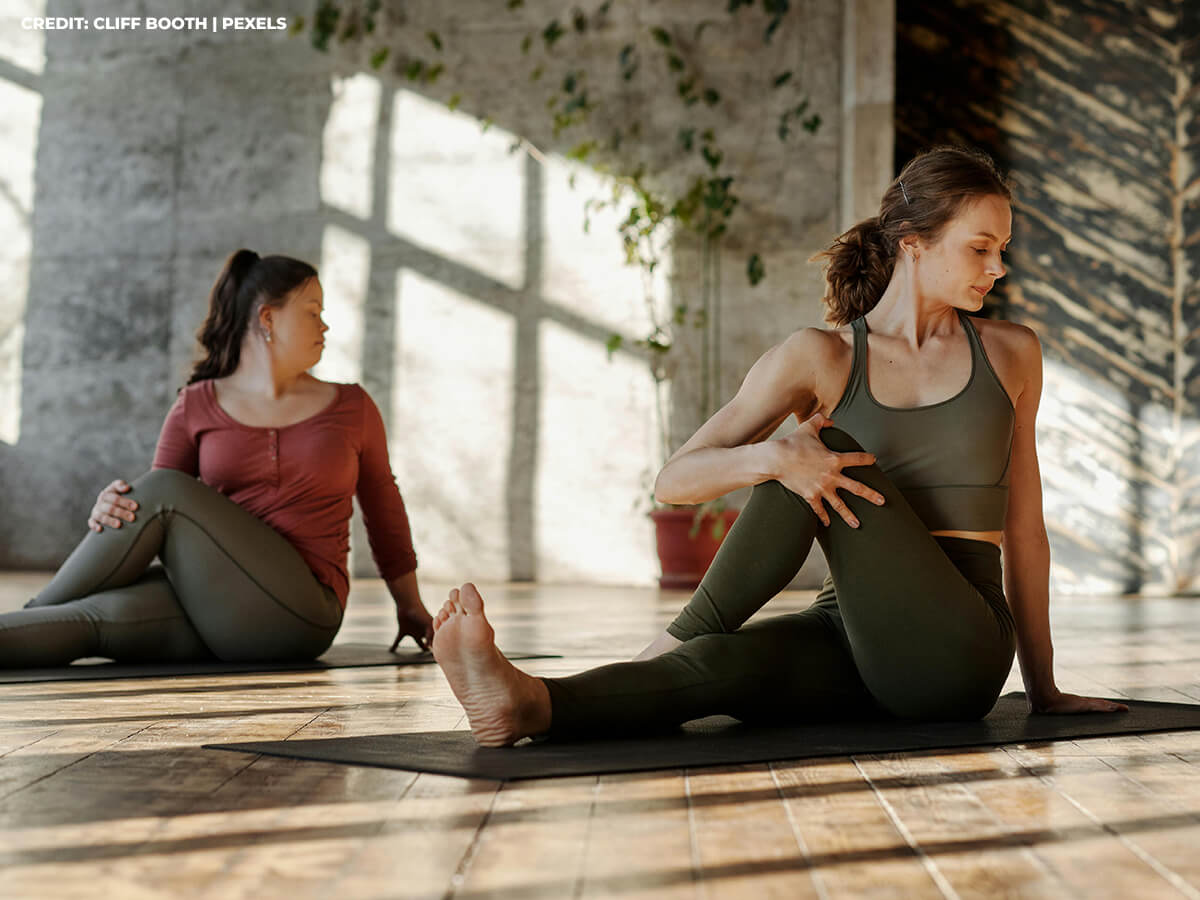
Tight hips and glutes can lead to a cascade of issues, including lower back pain, knee problems, and restricted movement. Fortunately, there are simple yet effective stretches that can help combat this stiffness and improve mobility. One such valuable technique is the cross-legged release, a gentle yet powerful stretch that targets the muscles in the buttocks and outer hips.
This comprehensive guide will walk you through the cross-legged release step-by-step, explaining its benefits and how to incorporate it into your routine for optimal hip and glute flexibility.
Step-by-Step Guide to the Cross-Legged Release
Starting Position
Begin by lying on your back on a flat surface. For comfort you can use a yoga/exercise mat or a carpet on the floor. Your legs should be extended straight out, and your arms should be resting by your sides.
Step 1: Crossing the Legs
Bend both knees and place your feet flat on the floor. Next, cross one leg over the other. For example, if you’re starting with your right leg, place your right ankle on top of your left knee. Ensure that your right foot is flexed, meaning your toes are pointing towards your shin. This helps to protect your knee joint.
Step 2: The Initial Pull
Bring both hands to rest on the knee of your crossed leg (in this example, your right knee). Gently pull your right knee towards your opposite shoulder (your left shoulder). You should begin to feel a stretch in your right buttock and possibly the outer part of your right hip. The intensity of the stretch will vary from person to person, so listen to your body and only pull to a point where you feel a comfortable stretch, not pain. Hold this initial stretch for approximately 15 seconds, breathing deeply and evenly throughout.
Step 3: Deepening the Stretch
(Variation 1)
For a deeper stretch, you can modify your hand position. Slide one hand (your right hand in this example) down from your knee to your ankle. Simultaneously, use your other hand (your left hand) to continue pulling your knee towards your opposite shoulder. As you do this, gently slide your left hand further up your right thigh, closer to your hip.
This change in leverage can intensify the stretch in the gluteal muscles. Again, hold this deeper stretch for another 15 seconds, maintaining relaxed breathing.
Step 4: Repeat on the Other Side
After holding the stretch on one side, slowly release the tension and uncross your legs. Repeat the entire process on the other side. This time, cross your left leg over your right knee, place both hands on your left knee, and pull it towards your right shoulder.
Follow the same steps for the initial pull and the deeper variation, holding each stretch for 15 seconds. Aim to perform this full sequence three times for each leg. Consistency is key to improving flexibility over time.
Step 5: Targeting the Outer Hip Muscles
(Variation 2)
The second part of the routine focuses on the muscles on the side of your hip, particularly the hip abductors. After completing the initial cross-legged stretch, keep your legs crossed in the same position (e.g., right ankle on left knee). This time, instead of pulling the knee towards the opposite shoulder, gently push down on the outer hip area of your crossed leg (your right outer hip). You should feel a stretch along the side of your hip. The intensity of this stretch may be less pronounced than the first part of the routine.
Important Note: Not everyone may need or feel a significant stretch with this second variation. It’s crucial to listen to your body and only perform the variations that provide a comfortable yet effective stretch for you.
If you don’t feel a stretch in the outer hip, you can either skip this part or experiment with slightly adjusting your position to see if that makes a difference. Hold this outer hip stretch for 15 seconds and then repeat on the other side. Again, aim for three repetitions on each leg if you find this variation beneficial.

Incorporating the Cross-Legged Release into Your Routine
The cross-legged release can be incorporated into your routine in various ways. It can be a valuable addition to:
- Warm-ups. Performing a gentle version of this stretch can help to activate the glutes and prepare the hips for more dynamic movements.
- Cool-downs. Holding the stretches for the recommended duration after exercise can help to reduce muscle soreness and improve recovery.
- Daily flexibility routine. Incorporating the cross-legged release a few times a day, even for short durations, can contribute to long-term improvements in hip and glute flexibility.
- As needed. You can also perform this stretch whenever you feel tension or stiffness in your hips and glutes.
Listening to Your Body
It’s essential to pay attention to your body’s signals while performing the cross-legged release. Never force a stretch or push through sharp pain. A mild to moderate pulling sensation is normal and indicates that the muscles are being stretched. If you experience any sharp or intense pain, stop the stretch immediately.
Here are a few modifications you can consider:
- Gentler stretch. If the standard stretch feels too intense, you can reduce the amount you pull your knee towards your shoulder. The goal is to feel a gentle stretch, not to maximize the range of motion at all costs, especially in the beginning.
- Using a strap. If you have difficulty reaching your ankle, you can use a yoga strap or a towel looped around your crossed foot to help guide the stretch.
- Supported variation. If lying flat on your back is uncomfortable, you can perform a modified version of this stretch while seated in a chair. Cross one ankle over the opposite knee and gently lean forward, keeping your back straight, until you feel a stretch in your hip.
Benefits of Regular Practice
Consistent practice of the cross-legged release can lead to numerous benefits, including:
- Increased hip and glute flexibility. Over time, regular stretching will help to lengthen the muscles and increase the range of motion in your hips.
- Reduced muscle tension. This stretch effectively targets tight muscles in the buttocks and outer hips, helping to release built-up tension.
- Potential pain relief. By stretching the piriformis muscle, the cross-legged release may help to alleviate sciatic nerve compression and reduce related pain. It can be a valuable tool in your strategy to combat hip pain and stiffness with the cross-legged release.
- Improved posture and alignment. Increased flexibility in the hips and glutes can contribute to better pelvic alignment and overall posture.
- Enhanced comfort in daily activities. Everyday activities like walking, bending, and lifting can become easier and more comfortable with improved hip mobility.

Final Thoughts
The cross-legged release is a simple yet powerful stretch that offers significant benefits for improving hip and glute flexibility. By following the step-by-step guide outlined in this article and incorporating this stretch into your regular routine, you can effectively target muscle tension, enhance your range of motion, and potentially alleviate discomfort. Remember to listen to your body, practice consistently, and enjoy the feeling of a more relaxed and supple lower body.
For personalized guidance on improving your flexibility and addressing any musculoskeletal concerns, reach out to the experts at our pain clinic in Kitchener.
Call Fairway Chiropractic Centre today at 519-748-5535.


