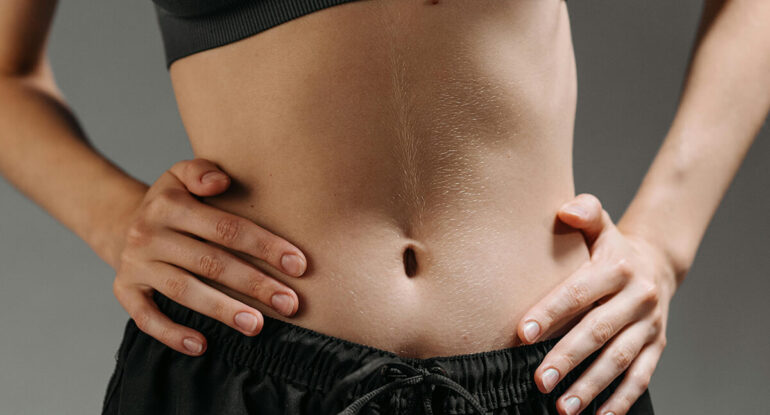
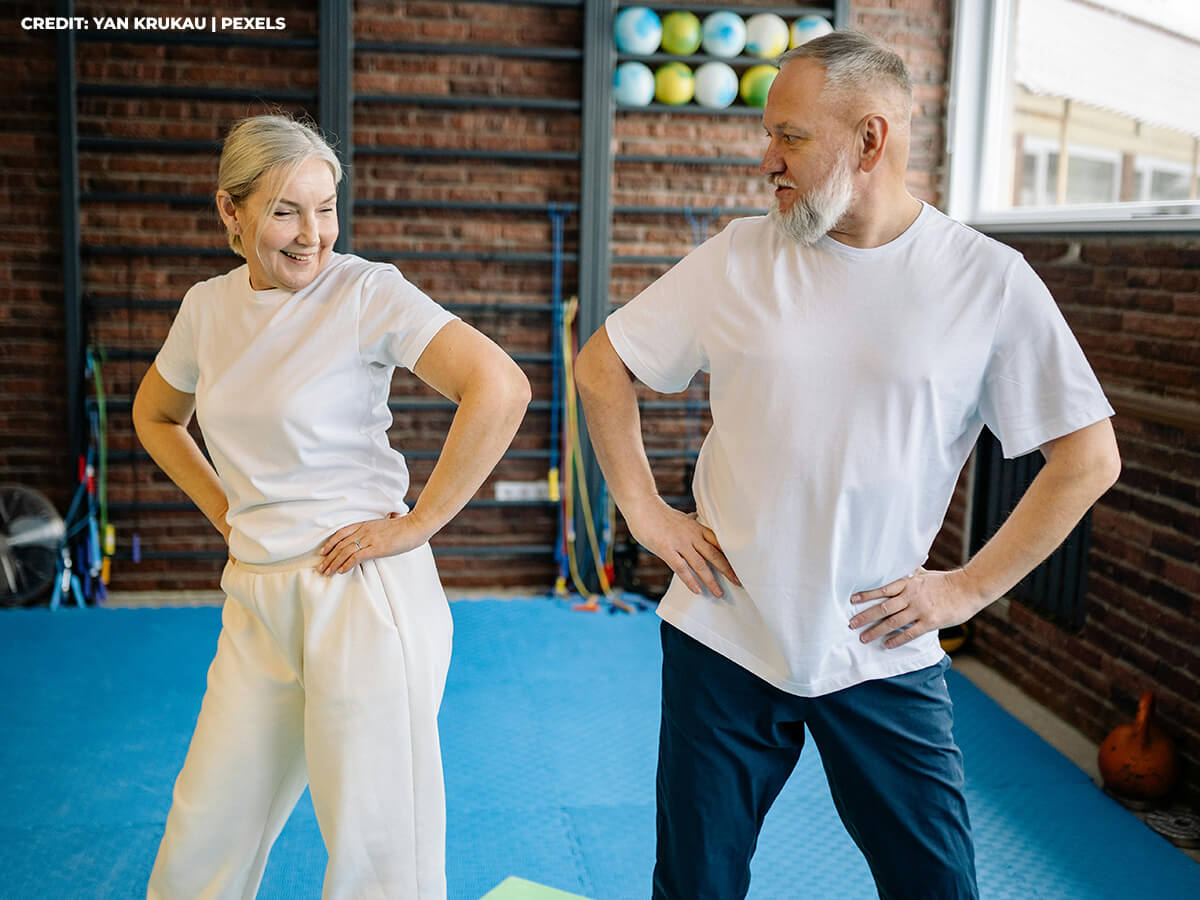
Hip pain is a common complaint, whether you’re an athlete pushing your body to its limits, someone who spends long hours sitting at a desk, or simply navigating the wear and tear of daily life.
This guide will walk you through a powerful lacrosse ball exercise designed to release tension in your hip muscles. By understanding the anatomy involved and following the step-by-step instructions, you can take control of your hip health and experience significant relief.
The Power of Self-Myofascial Release
The lacrosse ball technique we’ll be focusing on is a form of self-myofascial release (SMR). Myofascia is the interconnected web of connective tissue that surrounds and supports your muscles. When this fascia becomes tight or restricted, it can limit muscle movement and cause pain. Applying pressure to these tight spots, often referred to as trigger points or knots, can help to release the tension, improve blood flow, and restore muscle function.
Your Lacrosse Ball Hip Release Routine
Now, let’s get into the practical steps of using a lacrosse ball to release tension in your hips.
Step 1: Positioning for Success
Begin by lying on the floor on your back. The key to effectively targeting the hip muscles with the lacrosse ball is precise placement. Place the ball where your back pocket would be. This generally targets the gluteal muscles, particularly the piriformis, which is a common culprit in hip and sciatic-like pain.
Next, adjust your body to a slight angle for better access to the muscle. This means you won’t be lying perfectly flat on your back. Instead, gently roll onto the side of the hip you want to work on, allowing the lacrosse ball to be positioned underneath your gluteal muscles.
Step 2: Establishing Proper Pressure
The amount of pressure you apply is crucial for effective release. Position your feet about a foot away from the wall to ensure proper body weight pressure. Placing your foot on the wall allows you to control the amount of weight you’re putting onto the lacrosse ball. By pushing into the wall with your foot, you can increase the pressure; by easing off, you can decrease it. Experiment with the distance of your foot from the wall to find a comfortable yet effective level of pressure.
Step 3: Exploring for Tight Spots
Once you’re in position with the lacrosse ball under your hip, the next step is to explore the area until you find a tight spot. Gently roll your body around, allowing the ball to massage the different muscles in your gluteal region. You might feel tenderness or even sharp pain in certain areas. These are the knots and trigger points you want to focus on.
If needed, adjust the ball slightly lower with your hand. Sometimes, a tight spot might be just outside the initial placement. Use your hand to guide the ball to slightly different positions, both higher and lower, to ensure you’re addressing all areas of tension.
Step 4: Breathe and Release
Once you locate a tight spot, the most important thing is to allow your muscles to naturally clench, then focus on deep breathing and relaxation. It’s natural for your muscles to tense up when pressure is applied to a tender area. However, fighting this tension will be counterproductive. Instead, acknowledge the discomfort and consciously try to relax the surrounding muscles.
The goal is to let the muscle melt and relax, enabling the ball to work its magic and release tension. Deep, slow breaths are key here. As you inhale, try to consciously release any tension you’re holding in your hips and glutes. As you exhale, imagine the tension melting away.
Step 5: Sustained Pressure for Release
Stay in each spot for 10–15 seconds, allowing the ball to soothe the tightness and knots. This sustained pressure gives the muscle fibres and fascia time to release. Avoid the urge to quickly roll over the tight spot. Instead, hold steady pressure while continuing to breathe deeply and relax.
Step 6: Explore Multiple Areas
Hip tightness isn’t usually confined to a single spot. Move around and discover other spots, both close to one another and potentially in more distant areas. Continue to gently roll and explore the different muscles in your gluteal region and even slightly onto the side of your hip. Pay attention to any areas that feel particularly tender or restricted.
Step 7: Addressing the Side of the Hip
We’re specifically addressing the side of the hip, especially if you experience knee pain due to ITB friction syndrome. Shifting your body and targeting the side can make a significant difference.
To target the side of your hip, you’ll need to adjust your body position further, rolling more onto your side so the lacrosse ball can apply pressure to the muscles on the outer aspect of your hip.
Step 8: Finding Knots and Trigger Points
Throughout the entire process, remember that the goal is to find the knots and trigger points, allowing the ball to provide relief. These are the specific areas of hyperirritability within a muscle that can cause local pain and referred pain in other areas. By applying focused pressure to these points, you can help to break up the adhesions and restore normal muscle function.
Step 9: Focus on Breathing and Relaxation
Remember the importance of breathing and relaxation throughout the exercise. These are not just passive activities; they are active components of the release process. Conscious breathing helps to calm your nervous system and allows your muscles to relax more effectively.
Enjoying the Benefits
By consistently incorporating this lacrosse ball hip release routine into your self-care practices, you can experience a number of benefits, including:
- Reduced hip pain. Targeting tight muscles and trigger points can alleviate the source of your hip discomfort.
- Increased hip mobility. Releasing tension can improve your range of motion, making everyday activities easier.
- Improved flexibility. Regular lacrosse ball work can help lengthen tight muscles and improve overall flexibility.
- Potential relief from related pain. As mentioned, releasing hip tension can sometimes alleviate knee pain associated with ITB friction syndrome. You might also find relief from lower back pain that originates from tight hip muscles.
- Enhanced athletic performance. For athletes, improved hip mobility and reduced muscle tightness can contribute to better performance and reduced risk of injury.
Important Considerations
While lacrosse ball hip release is generally safe and effective, it’s important to keep a few things in mind:
- Listen to your body. If you experience sharp or intense pain, stop the exercise immediately. Some discomfort is normal, but it should be tolerable.
- Start gently. If you’re new to self-myofascial release, start with lighter pressure and shorter durations. You can gradually increase the pressure and time as your muscles become more accustomed to the technique.
- Consistency is key. Like any form of exercise or therapy, consistency is crucial for seeing results. Aim to incorporate this lacrosse ball routine into your regular self-care, perhaps a few times a week.
- Not a substitute for professional care. While self-myofascial release can be beneficial, it’s not a substitute for professional medical advice or treatment. If you’re experiencing severe or persistent hip pain, consult with a healthcare professional to determine the underlying cause and receive appropriate care.
For comprehensive assessment and tailored sports injury treatments, consider seeking guidance from experts. If you are looking for a trusted pain clinic in Kitchener, Fairyway Chiropractic Centre offers a range of services to address musculoskeletal pain.
Contact Fairyway Chiropractic Centre today at 519-748-5535.